THE BOCAGE – A closer look
The Bocage Hedgerow sets from Frontline Games were re-released last year (November, 2016) with a lot more detail, so first lets share some photos of the new items that are available. Made of a Polyurethane, so very durable and highly detailed, lets have a look:
(Click pictures to see larger images)

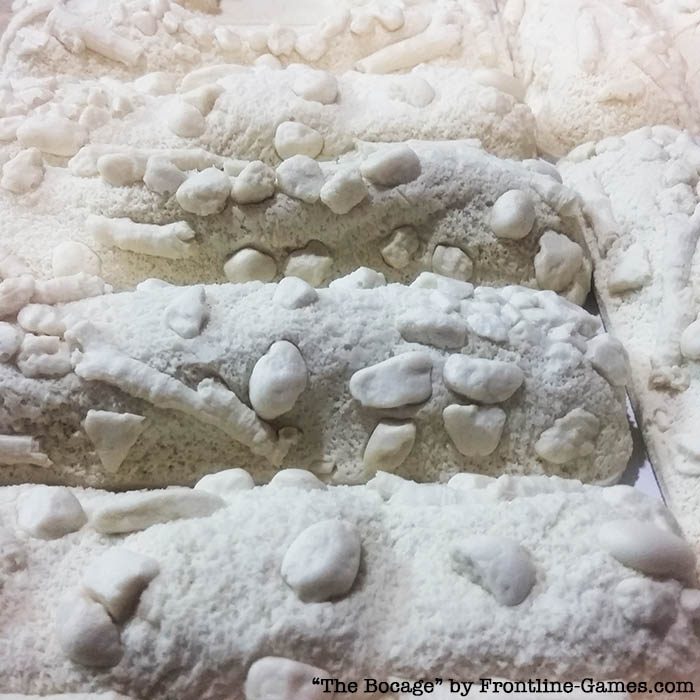

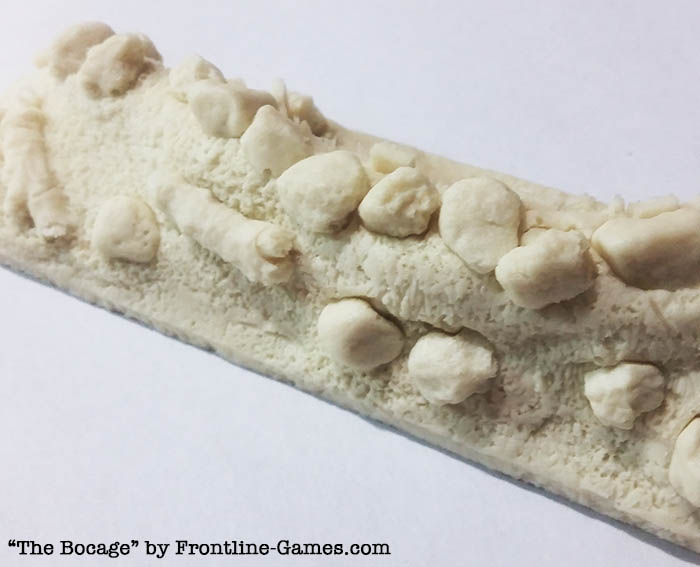
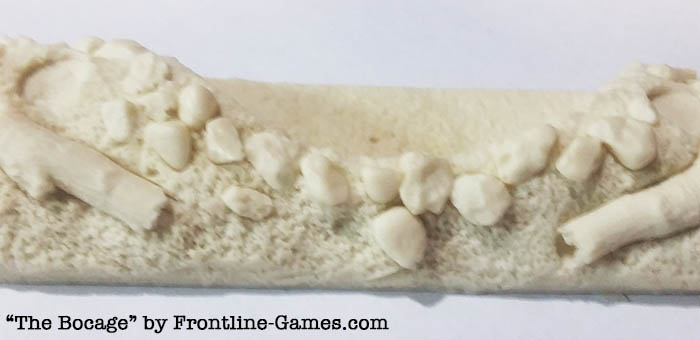
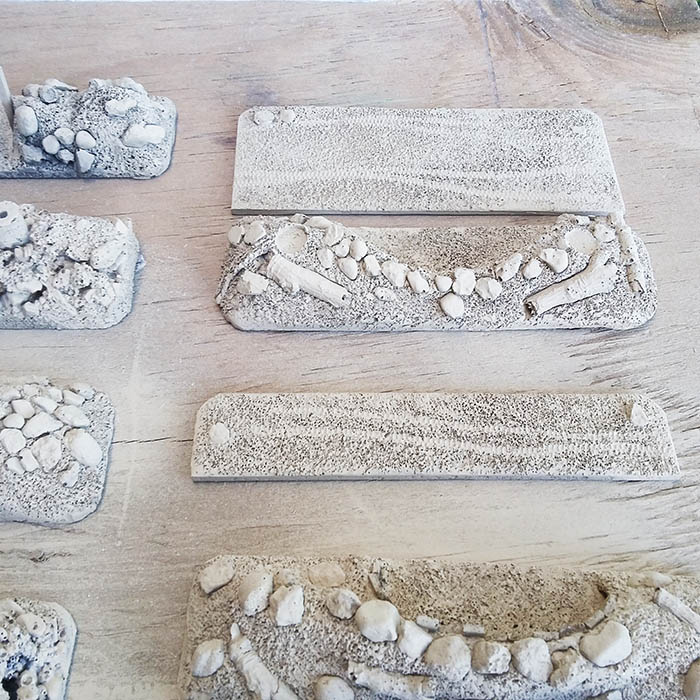
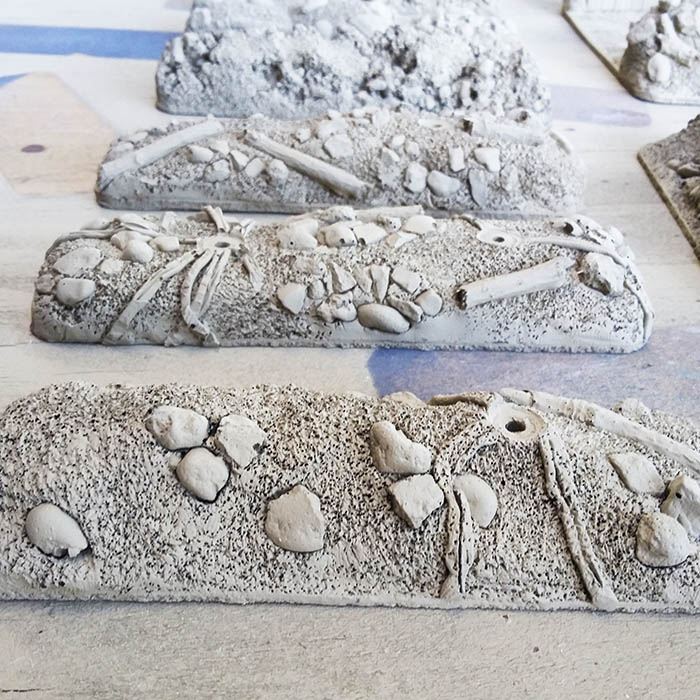
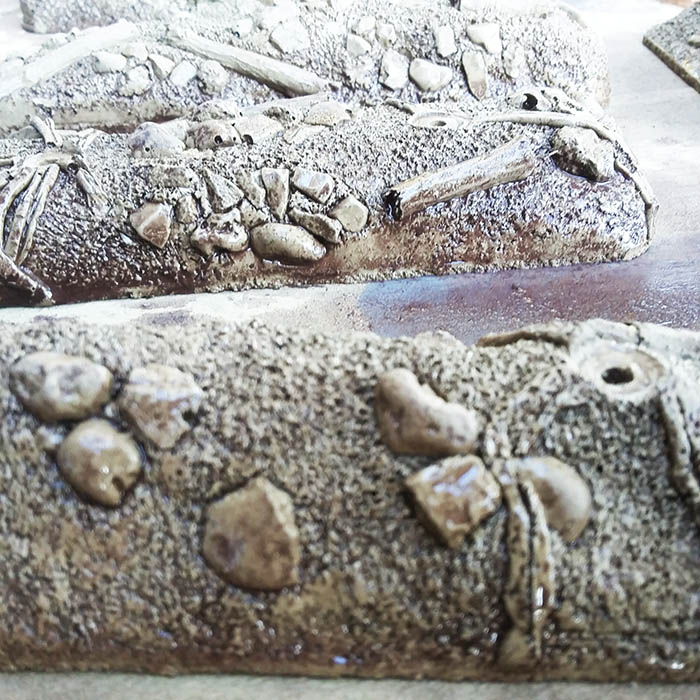
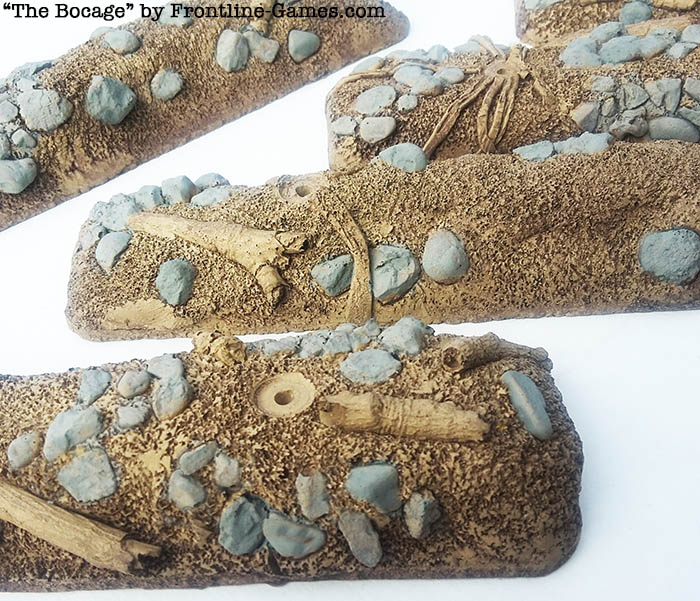
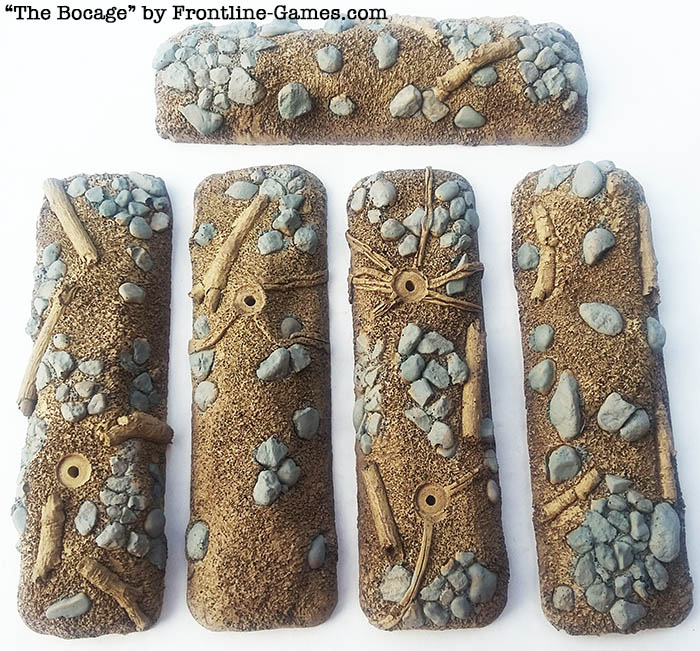
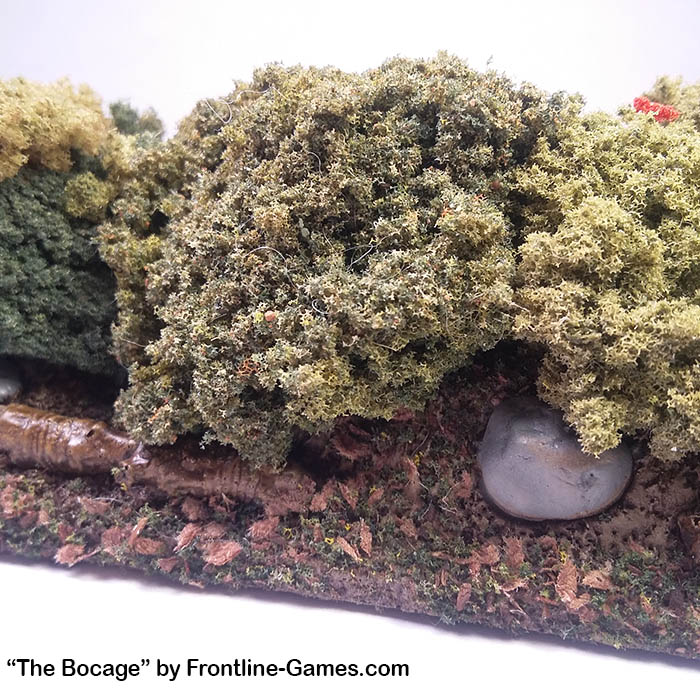
Here are some close-up shots of the straight sections with fallen trees/logs and rock/dirt which has been dug up and pushed into mounds in the edges of farm land for generations.
The sections are approx. 5″ x 1.5″ and come in various inserts for trees and such with exposed roots on many.
What is nice about these is that because of the casting, all of the work has been done for you, and it is solid. All you have to do is paint it (which is actually quite simple) and that will be covered shortly.

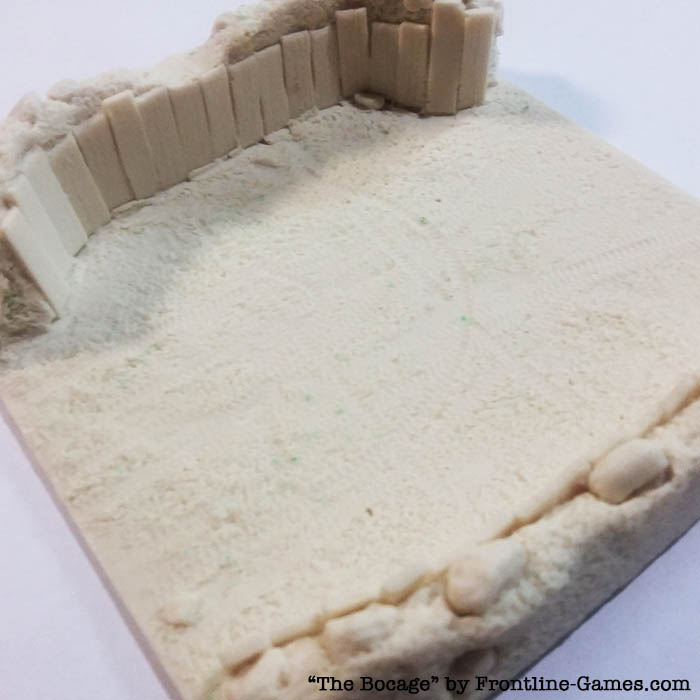
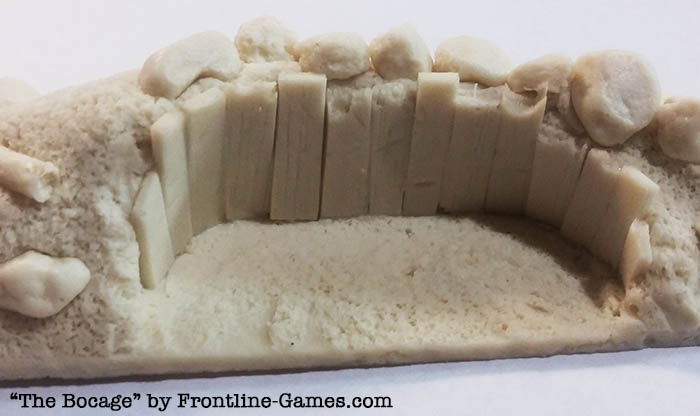
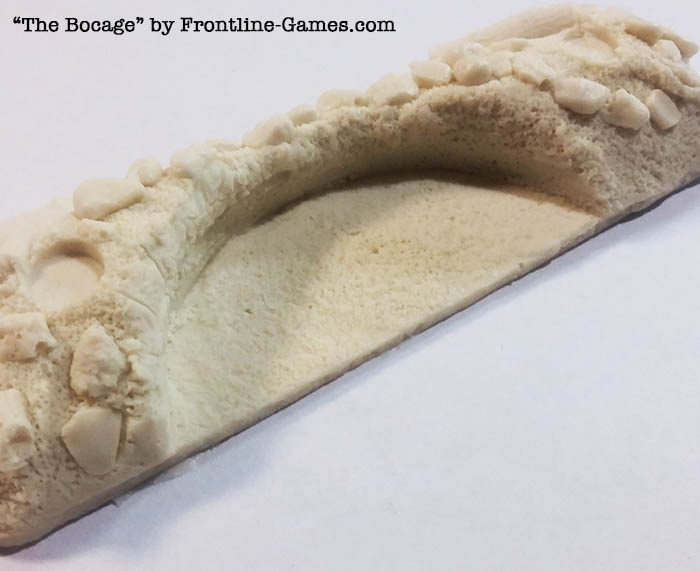
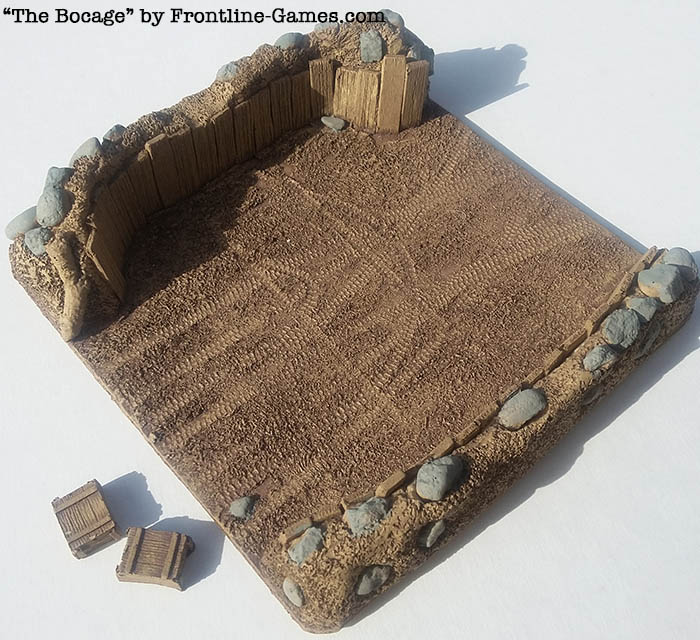
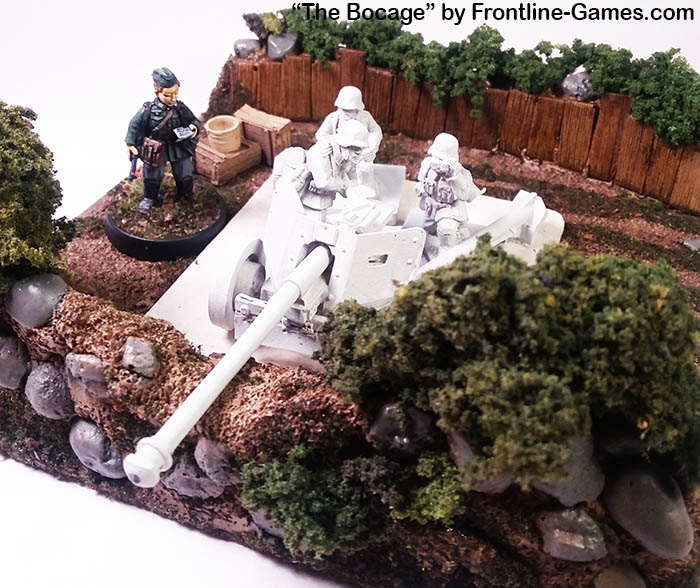
Also introduced with the Bocage Hedgerow sets are several specialty sections. Here is a 5″ x 5″ gun emplacement which has been dug into the hedgerow section (and then reinforced with wooden planks) to ambush enemy tanks/units as they approach! The embankments have been reinforced with planks, and a small depression is left for guns to insert their barrels through.
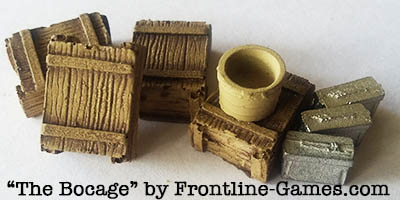
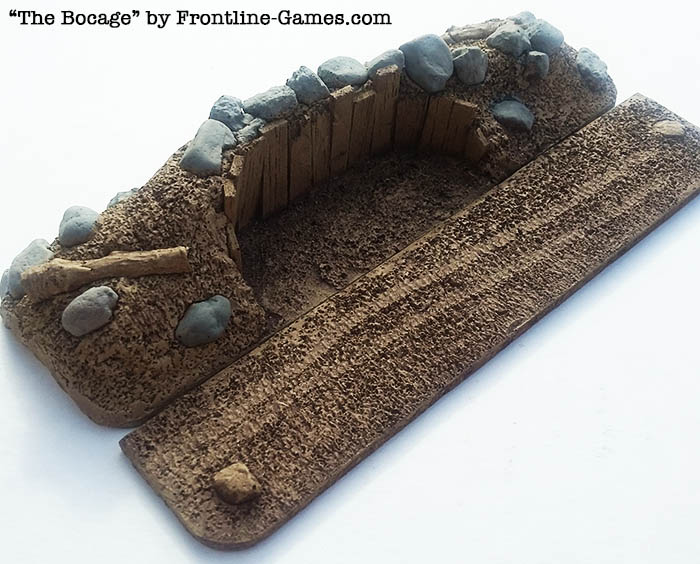
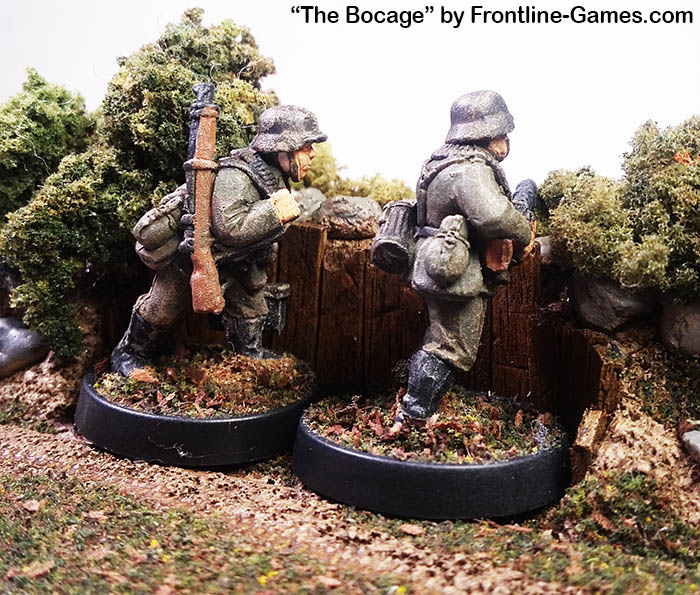
The Light Machine Gun Emplacement, which is meant to have two miniatures mounted on 25mm bases to fit perfectly. There is also included (not in picture) a rear base that connects to the Light Machine Gun Emplacement section (a flat section about an inch wide, pictured later) and ammo cans for LMGs so you can add further detail, which is cool.
This is the front of the L.M.G. Emplacement section.
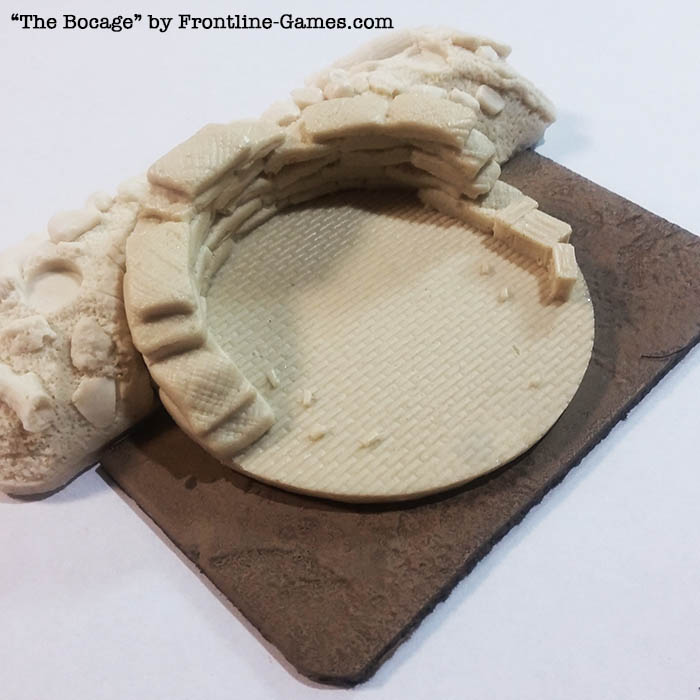
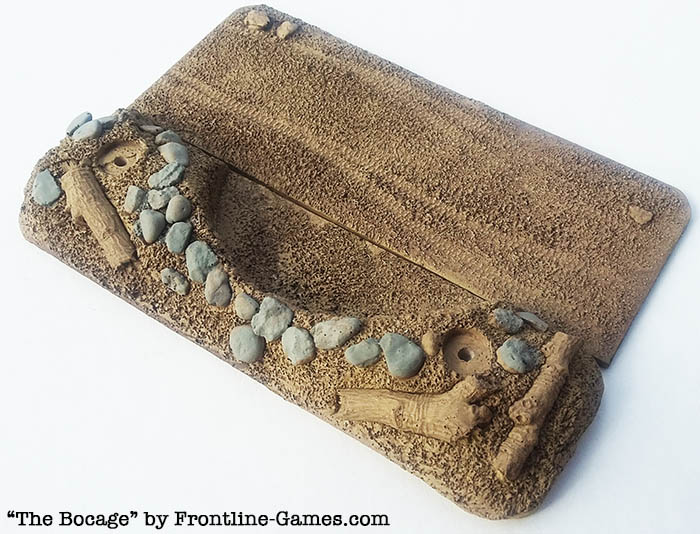
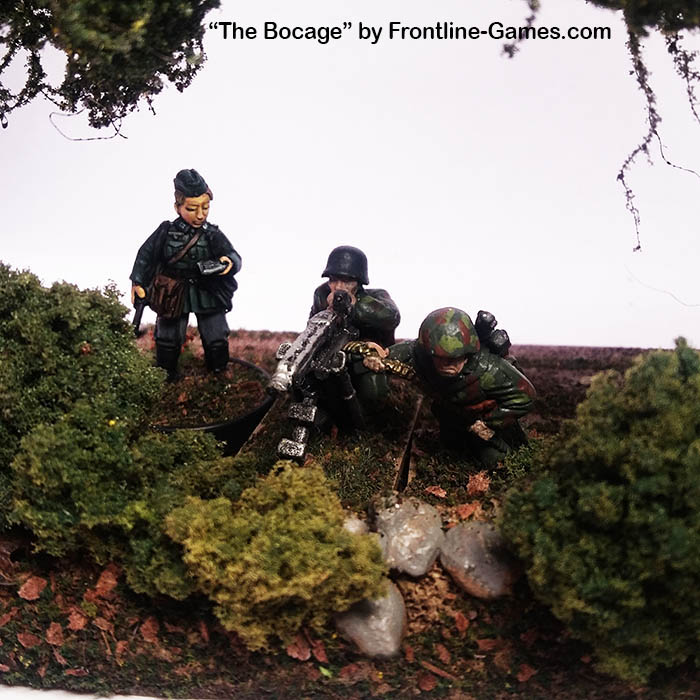
The M.M.G./Light Gun Emplacement (5″ x 3.5″), which also includes a rear base and ammo cans (again not shown in the above picture, but later) for the M.M.G. This section is also designed to have the Machine Gun nest #401015 slide right into it (as seen in the next picture) or an M.M.G. mounted on a large round base.
A rear shot of the The M.M.G./Light Gun Emplacement 5″ x 3.5″ which also includes a rear base (not in photo) and ammo cans.
Building/Painting the Bocage Hedgerow set by Frontline Games.
First part – Base coat paint and staining:
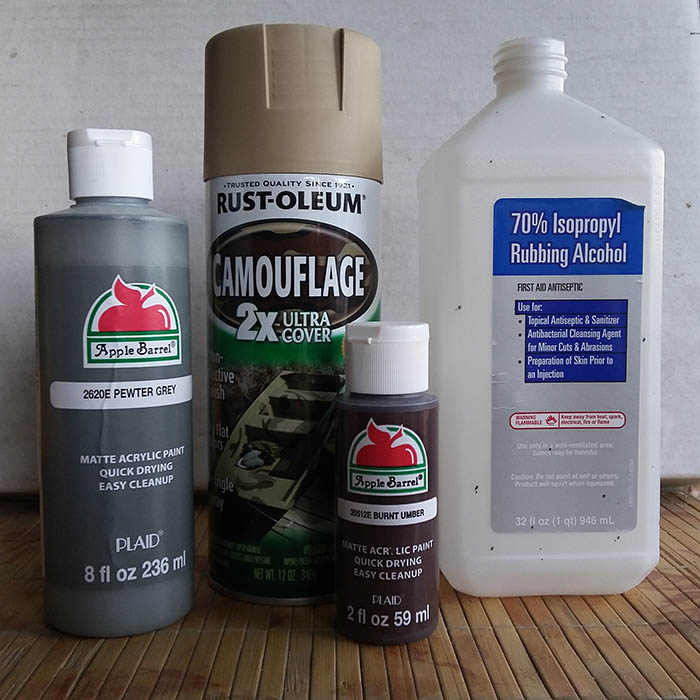
Here is the product I used to paint the Bocage Hedgerow sections – all from Walmart:
- Apple Barrel 2620E Pewter Gray Acrylic Paint – Large bottle – $2.00 (they have a smaller bottle for 50 cents, but I bought the larger ones because I plan to paint a lot more of these).
- Apple Barrel 20512E Burnt Umber Acrylic (water-based) paint – Small bottle – $.50
- Rust-Oleum Camouflage 2x Ultra-Cover 279180 “Sand” Spray paint – $3.80
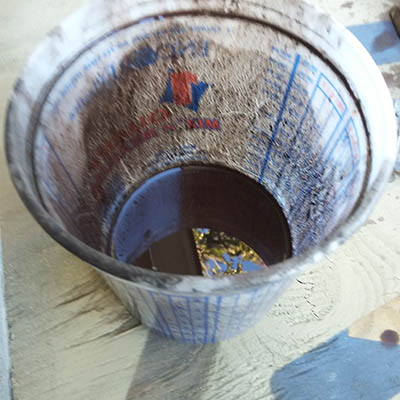
- Rubbing Alcohol – $1.80
- Not shown – seal your newly painted Bocage sections with a matte finish clear coat.
Second part – Painting the Bocage Hedgerow sections
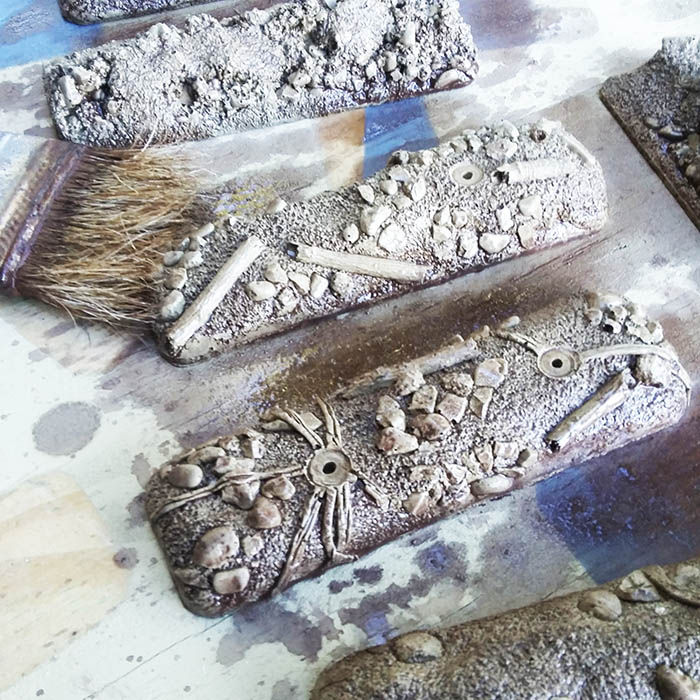
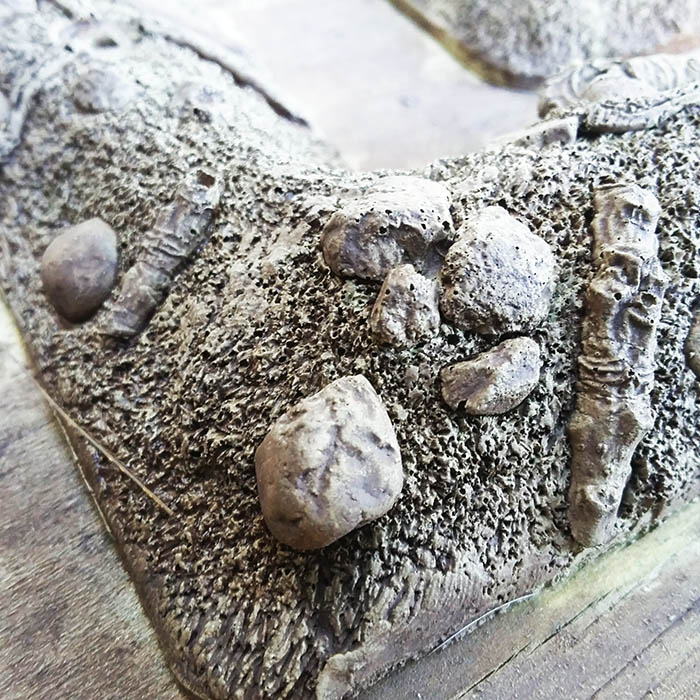
Now I used the Apple Barrel “Pewter Grey” to paint the stones, diluted it with rubbing alcohol 2 to 1, and again began to dabble the paint in the areas – note a lot of the top of the hedgerow sections are going to be covered up with bushes, so depending on how much of that is going to be exposed will determine how much you may want to paint of that area – just a thought. I used a very dark brown diluted (just like the stones) 1 to 1 to paint the fallen branches on the Hedgerow sections. Here are some photos of the progression so far (next is tree armatures and adding flock) – enjoy!

Above, Large Gun Emplacement – front and back with stones painted

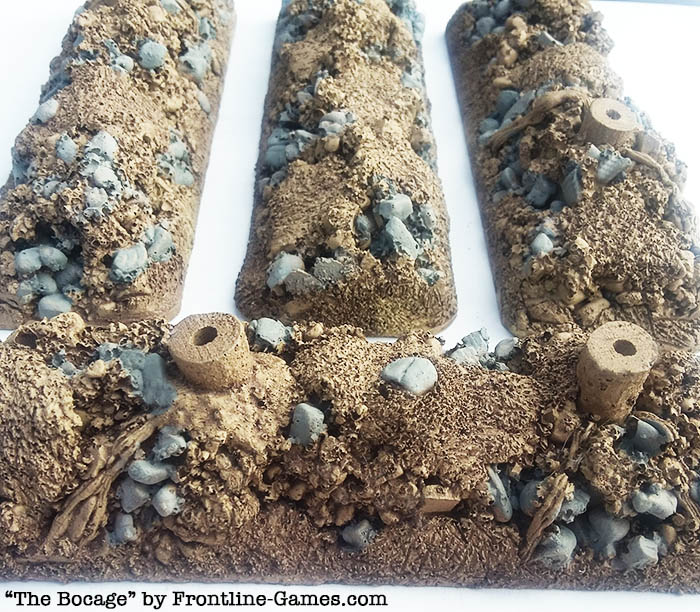
Above, these are the “rockier” sections..
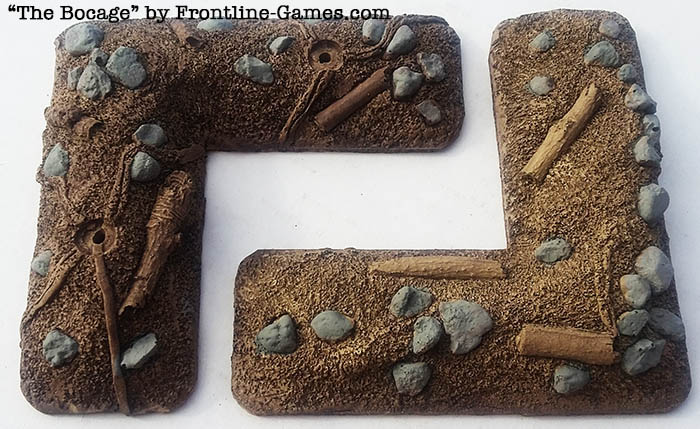
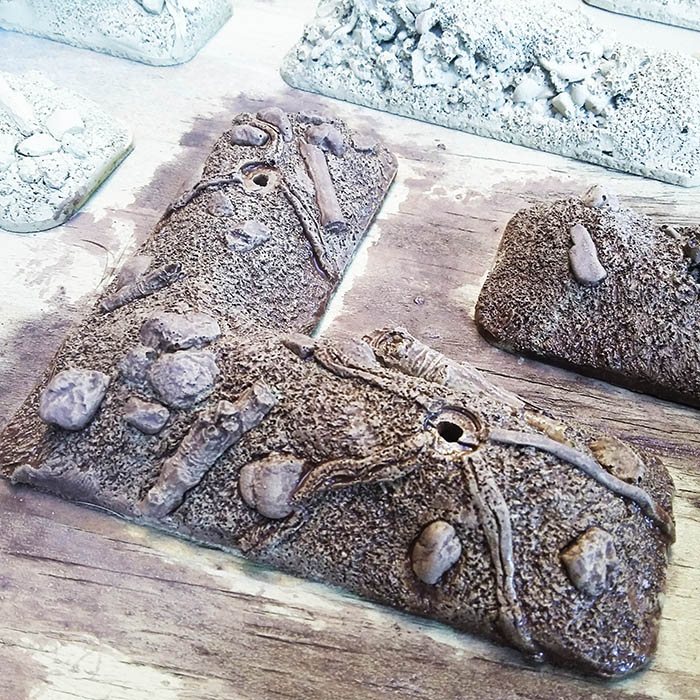
Above, first two corner sections.
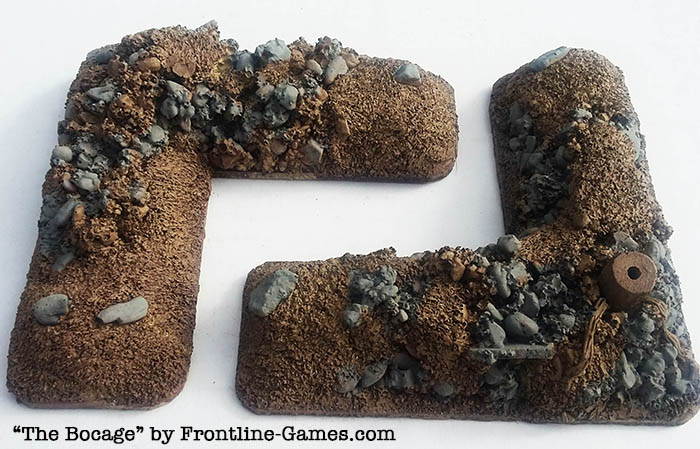
Above, second two “rockier” corner sections.
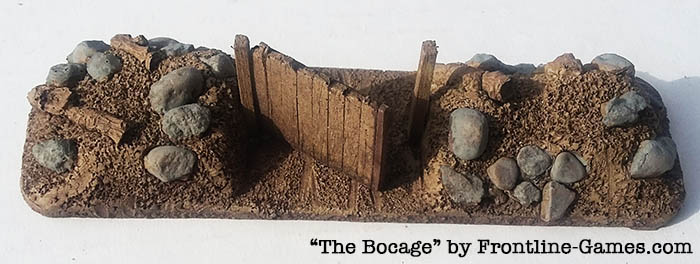
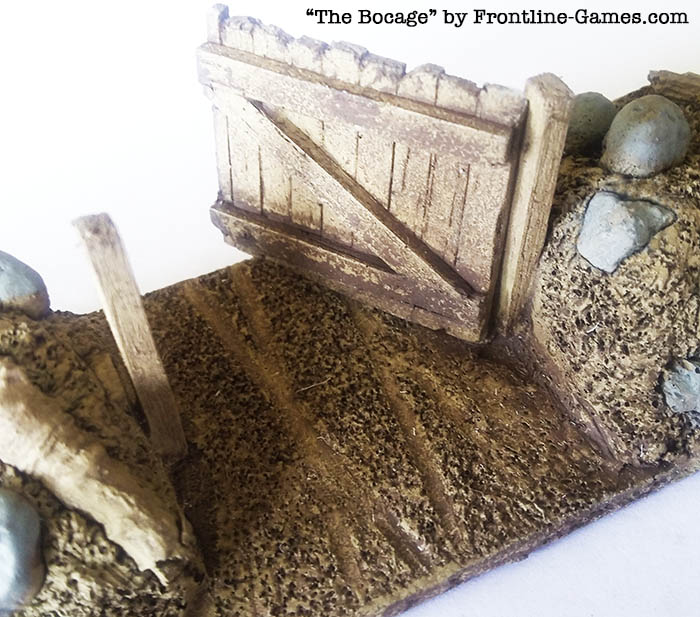
Above, the gate section. The gate has been magnetized so it can be open or closed. You don’t have to do this, but I thought it would be cool to have the gate section magnetized. So what I did was glued a small nail/brad on the gate section by clipping the head of the nail/brad and drilling a small hole right next to the gate-post and then inserted/glued into place and then glued a small earth magnet on the bottom of the gate and Voila! I had a gate that could open and close. If you do choose to do this, it would best be done before you begin to paint.
Third part – Adding flock and bushes to your Bocage Hedgerow sections.
The final stages to your Bocage Hedgerow sections is to paint the extra details such as your slat boards in the various emplacements sections and any other detail you would like to add. Once the painting is done let thoroughly dry.
Next adding flock to your Bocage Hedgerow sections. Mix 1 part PVA (Elmer’s glue) and 1 part water. This is how you apply your flocking to various places on your hedgerow sections. Dabble the glue onto any place you wish to add your flock and then sprinkle the flock onto those places. You don’t need much as the stained sections look great bare, but apply to your own taste. Once complete, let dry, and at this point seal with a clear Matt spray. I used Krylon’s Matt Clear Spray.
Adding your bushes – Once completely dry, I used instant glue (which I bought at Walmart – 4 tubes for about $1.00, so 25 cents a tube). I picked a piece of the cluster foliage, and when I got the shape I wanted, I dripped some instant glue onto the place and at the bottom of the foliage and held until it was firmly in place, which only took about 30 seconds. I did this until it was complete.
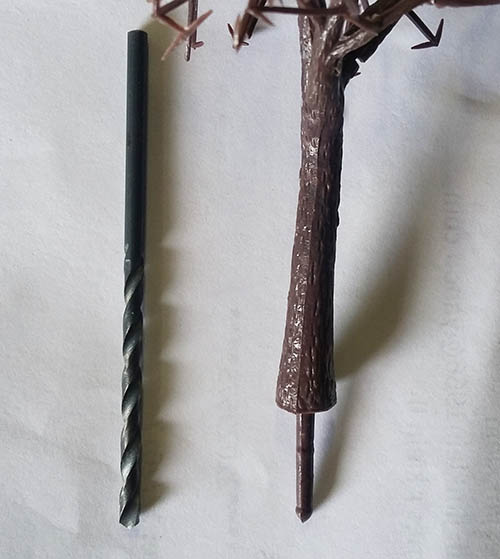
Forth part – Adding your trees.
Using the tree armatures we are making the trees that come with the Bocage sets.What you are going to need:
- Tree armatures (come with the set)
- Steel wool (come with the set)
- Any dark brown spray paint
- Any super hold hair spray
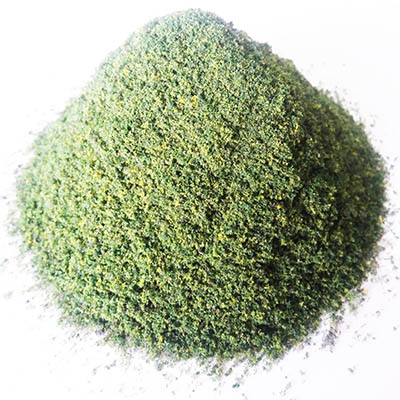
- Green flock (some comes with the set but I would suggest getting more from a local hobby store)
Wrap the tree armatures with steel-wool, then spray them with a dark brown paint and immediately sprinkle green flock on them. Let them dry, and then spray with hairspray. Then again let them dry thoroughly, and they will be ready for your hedgerow sections that require trees to complete.
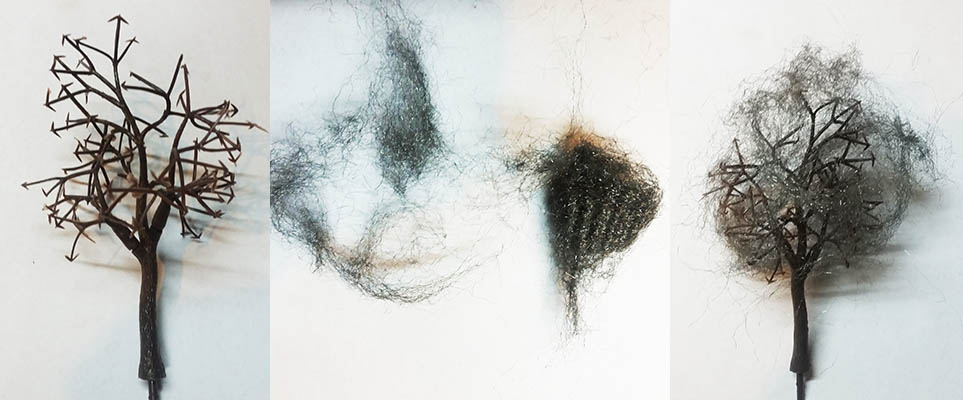
Locate tree armature. spread out your steel-wool to be wrapped around your armature, then wrap the tree armature in your desired shape (this will be the shape of your tree)…
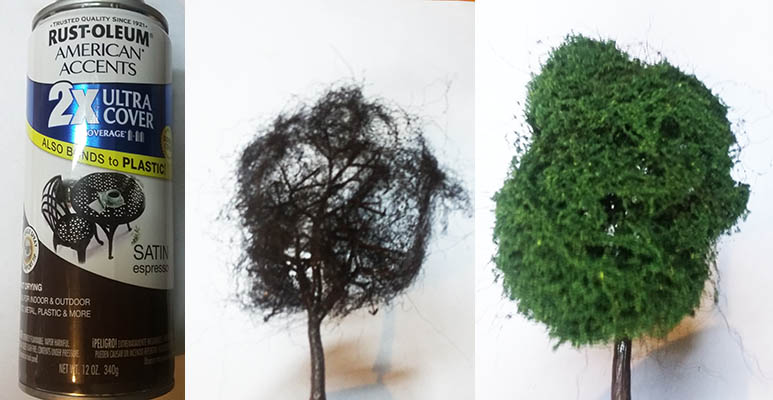
I used Rust-Oleum purchased from Walmart. This paint covers very well. “Satin Expresso” is the paint color I used, although any dark brown will do. Spray the tree armature with steel-wool wrap, and then quickly sprinkle the flock onto the armature. Use something like a shoe box to catch the extra particles so you can use them again. Once dry, spray a liberal amount of hairspray onto the tree armature and let dry thoroughly. It is amazing how the hairspray holds the flock so wonderfully well 🙂
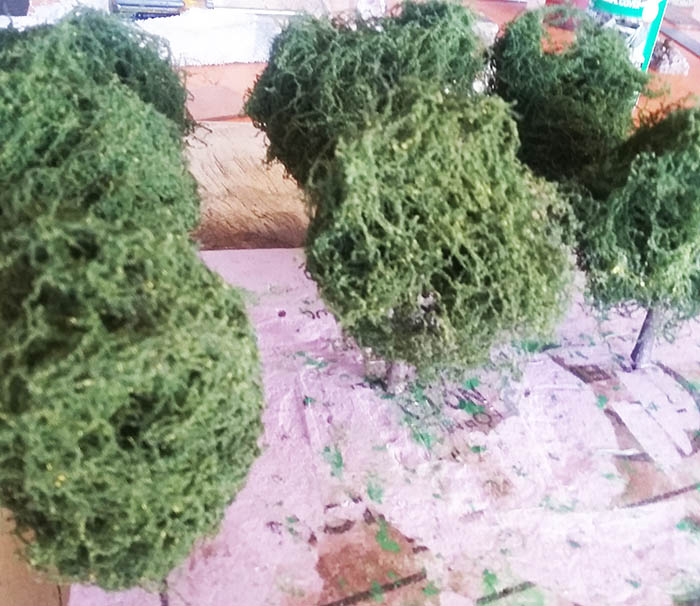
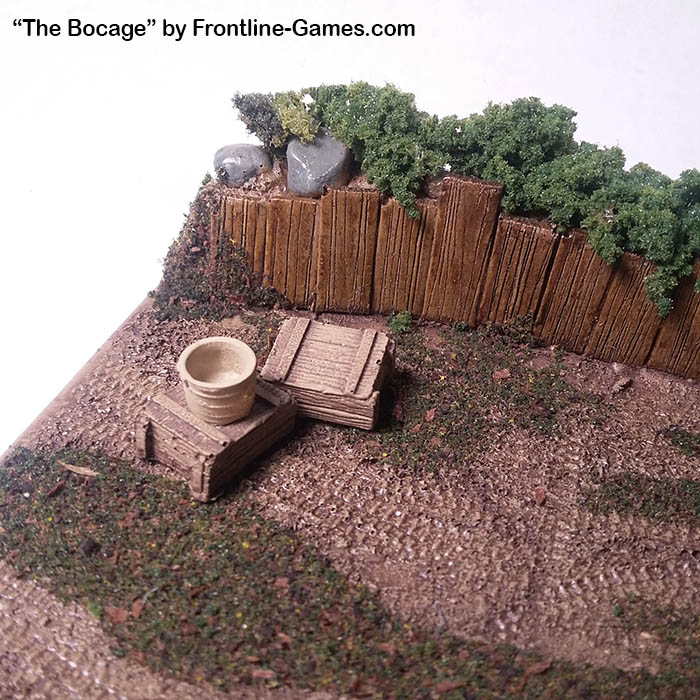
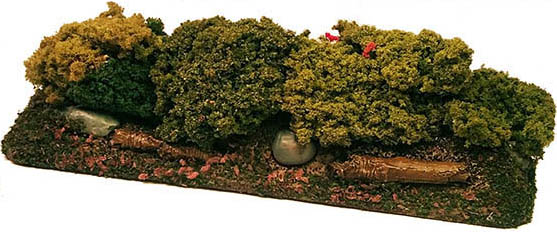
I used a foam board with holes in it to push the trees into to let dry. Once your trees are dry, you can insert them into the holes and your Bocage is ready for play! Here are some samples of painted Bocage Hedgerow sections:
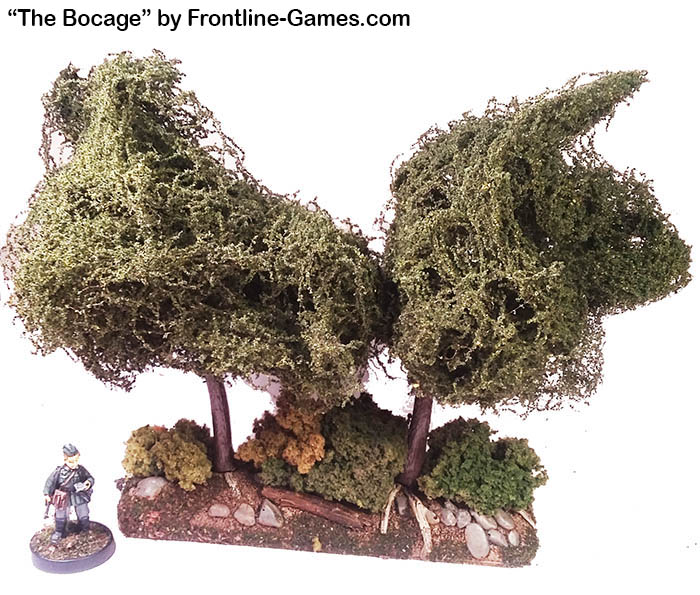

They were a lot of fun to build and add a lot of character to your game table. I have seen homemade hedgerow sections that look nice but have no where near the detail that these have, so well worth it to me.
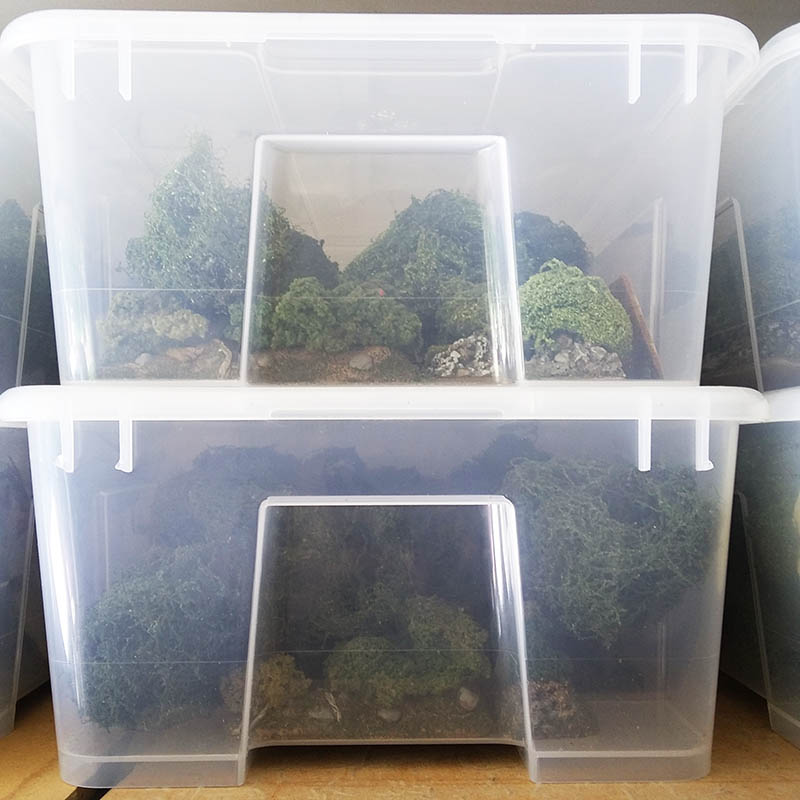
I picked up some plastic storage containers from IKEA and store my sections/trees in those on a shelf with less than a 10″ x 12″ x 10″ foot print!
Enjoy!
Do you know if they are doing more for the Bocage line, awesome stuff partner!
Greetings! Really helpful advice on this post! glad I saw this BEFORE I built mine =>
This is execelent, I really like the SUPER detail in the Hedgerow sections, makes it very much worth it! You have got to do some more post about these.
Dude, very cool! Going to use this for my Bolt Action games!
Hey, this is a Great tutorial for the Bocage. We will be linking to this post on our site.
Please keep it up, love the new ideas.